Salted Caramel Rice Krispie Treats Recipe
Salted Caramel Rice Krispie Treats are a step up from the original. We’re talking that same nostalgic, chewy comfort, but with a rich, buttery caramel flavor that has a hint of salt. The mix of the sweet and salty caramel clinging to those crispy, airy squares is seriously addictive. I find myself making these for everything from casual potlucks to holiday gatherings, or just when a serious sweet and salty craving hits. The secret to their success is in really letting that homemade caramel develop its deep flavor and making sure every single Rice Krispie is coated thoroughly. It seems fancy, but it’s a surprisingly simple recipe that leads to a truly decadent treat. Don’t shy away from making the caramel; it’s easier than you might think and the payoff is absolutely worth it. These treats are a crowd-pleaser for a reason.
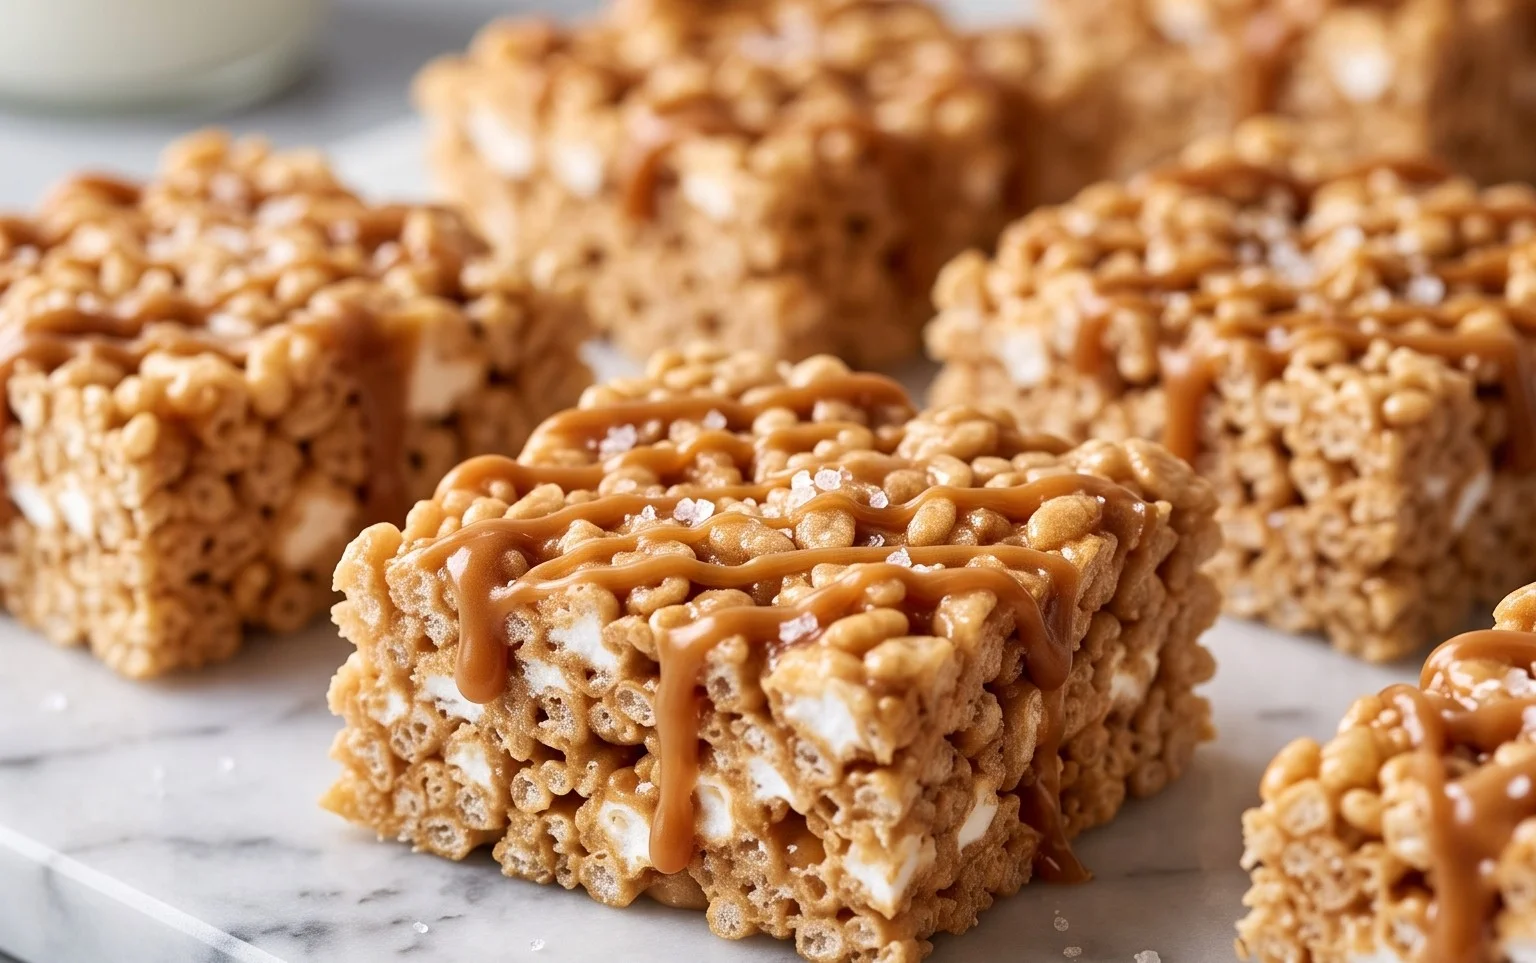
Salted Caramel Rice Krispie Treats
These aren’t your average Rice Krispie treats. We’re taking that nostalgic, gooey comfort and giving it a sophisticated twist with rich, buttery salted caramel. The combination of the sweet, salty caramel clinging to those crispy, airy squares is simply irresistible. I love making these for potlucks, holidays, or just when a serious craving hits. The secret is in really letting that caramel develop and making sure everything is well-coated. It’s a surprisingly simple recipe that yields a truly decadent result. Don’t be afraid of the caramel step; it’s easier than you might think and totally worth it.
Ingredients:
- 2 bags (4.5 ounces, each) Werther’s soft caramels, divided
- 1 cup salted butter
- 7 ½ cups mini marshmallows, divided
- 7 cups Rice Krispies cereal
- 1/2 to 1 teaspoon sea salt
Making the Caramel Base
The first step to these incredible treats is creating our flavorful caramel base. We’re going to melt down the Werther’s caramels with butter. This process needs a little patience and attention to ensure a smooth, luscious caramel. In a large, heavy-bottomed saucepan, combine 1 ½ bags of the Werther’s soft caramels (save the remaining half bag for later) and the entire cup of salted butter. It’s important to use a saucepan that’s large enough to hold all your ingredients later, so don’t skimp on size. Place the saucepan over medium-low heat. You want to melt these ingredients gently. Stir frequently with a heatproof spatula or wooden spoon. Resist the urge to crank up the heat; we’re aiming for a slow, even melt to prevent scorching. As the butter melts, it will help the caramels soften and become fluid. Keep stirring until both the butter and the caramels are completely melted and the mixture is smooth and uniform. This usually takes about 8 to 10 minutes. Once it’s fully melted and looks like a glossy liquid, remove the saucepan from the heat.
Incorporating the Marshmallows
Now comes the part that gives our treats their signature chewiness. While the caramel mixture is still hot and liquid, add 6 ½ cups of the mini marshmallows to the saucepan. You’ll notice the residual heat from the caramel and butter will start to melt the marshmallows. Stir continuously with your spatula. The goal here is to get the marshmallows melted into the caramel mixture, creating a sticky, gooey binder. Keep stirring until the marshmallows are almost entirely melted and you have a smooth, homogenous, and very sticky mass. It’s okay if a few tiny bits of marshmallow remain; they’ll melt further as you incorporate the cereal. This step might feel a little sticky, but that’s exactly what we want. The stickier the marshmallow mixture, the better it will hold our cereal together.
Adding the Crispy Cereal
This is where our Rice Krispie treats really start to take shape. Once the marshmallows are mostly melted into the caramel mixture, it’s time to add the dry ingredients. Gently fold in the 7 cups of Rice Krispies cereal. You want to stir carefully to coat every single piece of cereal with the gooey caramel-marshmallow mixture. Don’t mash or crush the cereal; we want to preserve its crispiness and airy texture. Stir until the cereal is evenly distributed and there are no dry pockets of cereal left. This step is also when we add the sea salt. Sprinkle in ½ to 1 teaspoon of sea salt. I like to start with ½ teaspoon and taste a small bit of the mixture (carefully, it’s hot!) to see if it needs more salt. The salt is critical for balancing the sweetness of the caramel and marshmallows, so don’t skip it. If you’re using a very good quality salted butter, you might even get away with a little less salt, but I prefer the balance with at least ½ teaspoon. If you love that salty-sweet contrast, go for the full teaspoon.
Forming the Treats
To make forming the treats easier and prevent sticking, prepare your pan. Lightly grease a 9×13 inch baking pan with butter or cooking spray. You can also line it with parchment paper, leaving some overhang on the sides for easy lifting later. This will prevent the sticky mixture from adhering to the pan. Now, carefully transfer the Rice Krispie cereal mixture into the prepared pan. It will be very sticky, so using a spatula or your hands (lightly greased or wet with water) can help. Gently press the mixture into an even layer in the pan. Avoid pressing too hard, as this can make the treats dense and tough. We want them light and airy. A light, even press is all that’s needed to compact them just enough to hold their shape.
The Finishing Touch: Caramel Drizzle
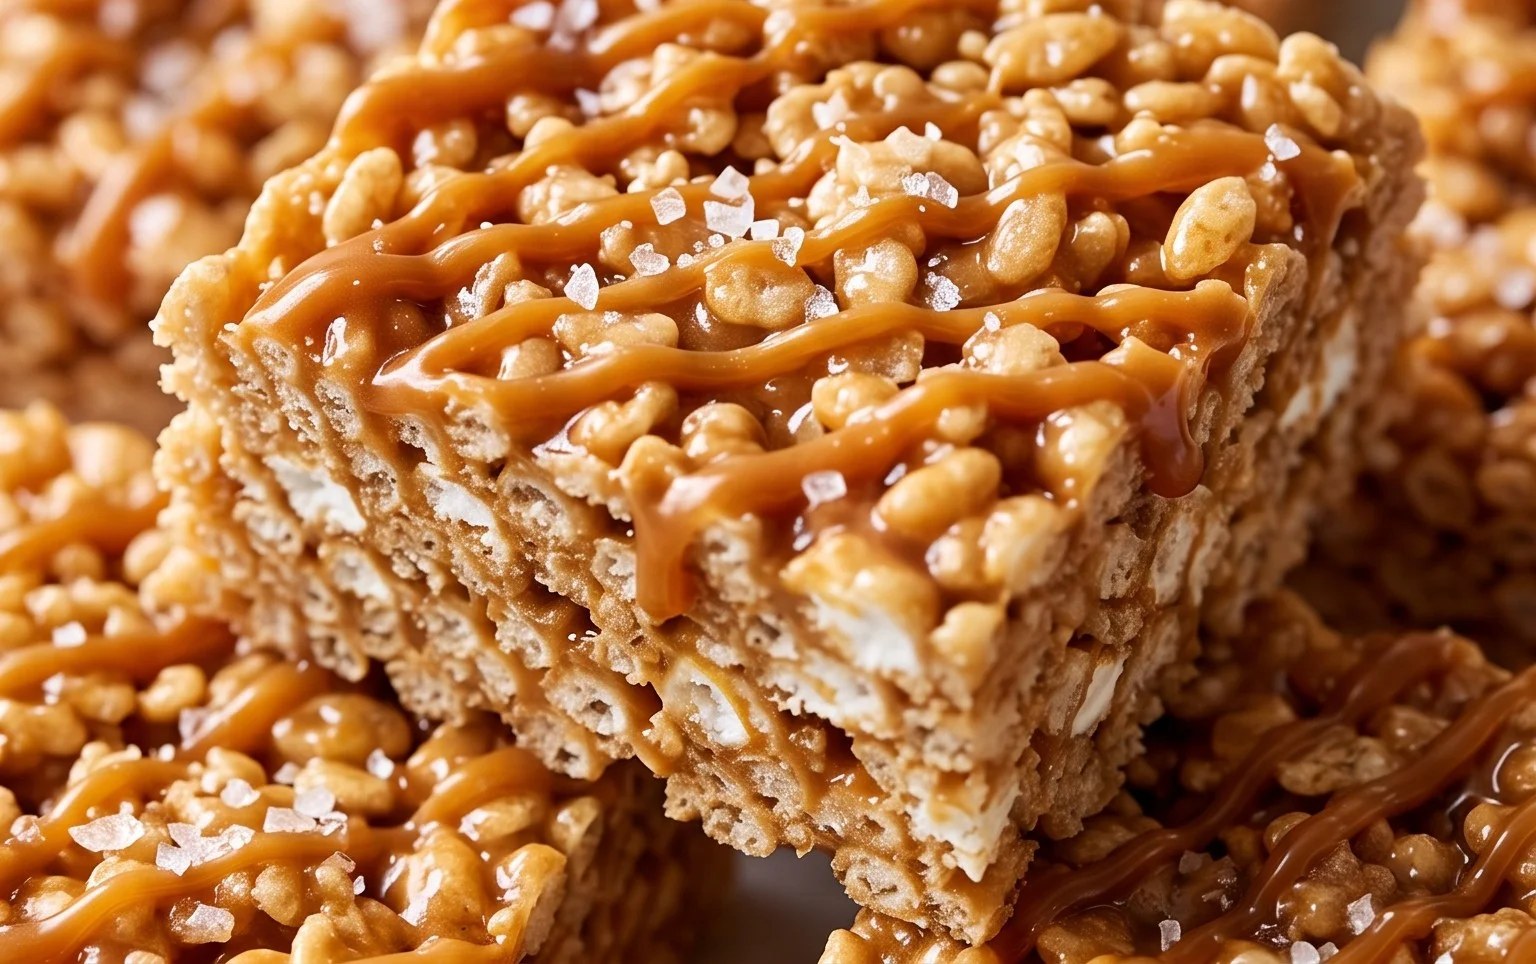
This is the final flourish that makes these treats truly special. Remember that reserved half bag of Werther’s soft caramels? We’re going to melt those down to create a delicious drizzle. Place the remaining half bag of caramels in a small, microwave-safe bowl. Add about 1 to 2 tablespoons of butter (this helps with fluidity) and microwave in 20-second intervals, stirring between each, until completely melted and smooth. Be careful not to overheat. Alternatively, you can melt them in a small saucepan over very low heat, stirring constantly. Once melted and smooth, drizzle this luscious caramel over the top of the pressed Rice Krispie treats in the pan. You can use a spoon to create zigzags or random patterns. For an extra touch of sparkle and flavor, sprinkle a little more sea salt over the wet caramel drizzle before it sets. Let the treats cool completely at room temperature for at least 30 minutes to an hour. This allows them to set up properly. Once cooled and firm, use the parchment paper overhang or a knife to cut them into squares. If they are still too sticky to cut cleanly, a light greasing of the knife usually does the trick.
Conclusion:
Making these Salted Caramel Rice Krispie Treats is a rewarding experience, proving that you can create something truly special with simple ingredients and a little patience. They offer that perfect balance of sweet, salty, chewy, and crispy that’s hard to resist. Serve them cut into squares at your next party, or just enjoy one (or two) with a glass of milk. For variations, try adding a sprinkle of flaky sea salt on top before they set for an extra pop, or even a drizzle of melted dark chocolate.
FAQs:
Can I use pre-made caramel sauce?
While pre-made caramel sauce is convenient, it won’t give you the same depth of flavor or the ideal chewy texture that melting soft caramels with butter provides. The process of melting down the caramels is key to achieving the right consistency and richness for these treats.
How do I store Salted Caramel Rice Krispie Treats?
Store them in an airtight container at room temperature for up to 3 days. If you stack them, place parchment paper or wax paper between layers to prevent sticking. Avoid refrigerating them, as this can make them hard and lose their chewy texture.
What if my caramel is too hard?
If your caramel mixture cools down too much before you mix it with the cereal and marshmallows, it can become difficult to work with and result in harder treats. Ensure your mixture stays warm and pliable throughout the mixing process by working efficiently or gently reheating if needed.
Salted Caramel Rice Krispie Treats
Chewy and crispy Rice Krispie treats elevated with the rich flavor of salted caramel. A delightful twist on a classic.
Ingredients
-
2 bags (4.5 ounces, each) Werther’s soft caramels, divided
-
1 cup salted butter
-
7 ½ cups mini marshmallows, divided
-
7 cups Rice Krispies cereal
-
1/2 to 1 teaspoon sea salt
Instructions
-
Step 1
Line a 9×13 inch baking pan with parchment paper, leaving an overhang on the sides for easy lifting. Lightly grease the parchment paper with butter. -
Step 2
In a large saucepan over low heat, melt the butter. Add one bag of Werther’s soft caramels (unwrapped) and stir until completely melted and smooth. -
Step 3
Remove the saucepan from the heat. Add 3 ¾ cups of mini marshmallows to the caramel mixture and stir until melted and fully combined. -
Step 4
Add the Rice Krispies cereal to the marshmallow and caramel mixture. Stir gently until the cereal is evenly coated. -
Step 5
Gently press about half of the cereal mixture into the prepared baking pan. -
Step 6
In a microwave-safe bowl, melt the remaining bag of Werther’s soft caramels in 30-second intervals, stirring between each, until smooth. Stir in the remaining 3 ¾ cups of mini marshmallows and microwave for another 30 seconds, or until the marshmallows are puffed and beginning to melt. Stir until smooth. Stir in the sea salt. -
Step 7
Pour the warm salted caramel marshmallow mixture over the cereal layer in the pan. Evenly spread it out. Top with the remaining cereal mixture, gently pressing it down. -
Step 8
Let the treats cool completely at room temperature for at least 30 minutes before cutting into squares.
Important Information
Nutrition Facts (Per Serving)
It is important to consider this information as approximate and not to use it as definitive health advice.
Allergy Information
Please check ingredients for potential allergens and consult a health professional if in doubt.


